In a world of texts and emails, there’s something a handwritten letter can do that no notification ever will — and it all starts with a properly addressed envelope.
Whether you’re mailing a wedding invitation, a heartfelt thank-you note, or a business letter, the way you address that envelope shapes the first impression before your recipient even opens it. Beyond etiquette, correct formatting also matters practically:
it helps postal services sort and deliver mail faster, reducing the chance of delays or lost letters.
Yet many people never learned the “rules,” relying instead on guesswork. This guide breaks down everything you need to know from basic anatomy and step-by-step formatting to special cases like international mail, business correspondence, and formal invitations so every envelope you send looks polished and reaches its destination without a hitch.
Anatomy of an Envelope
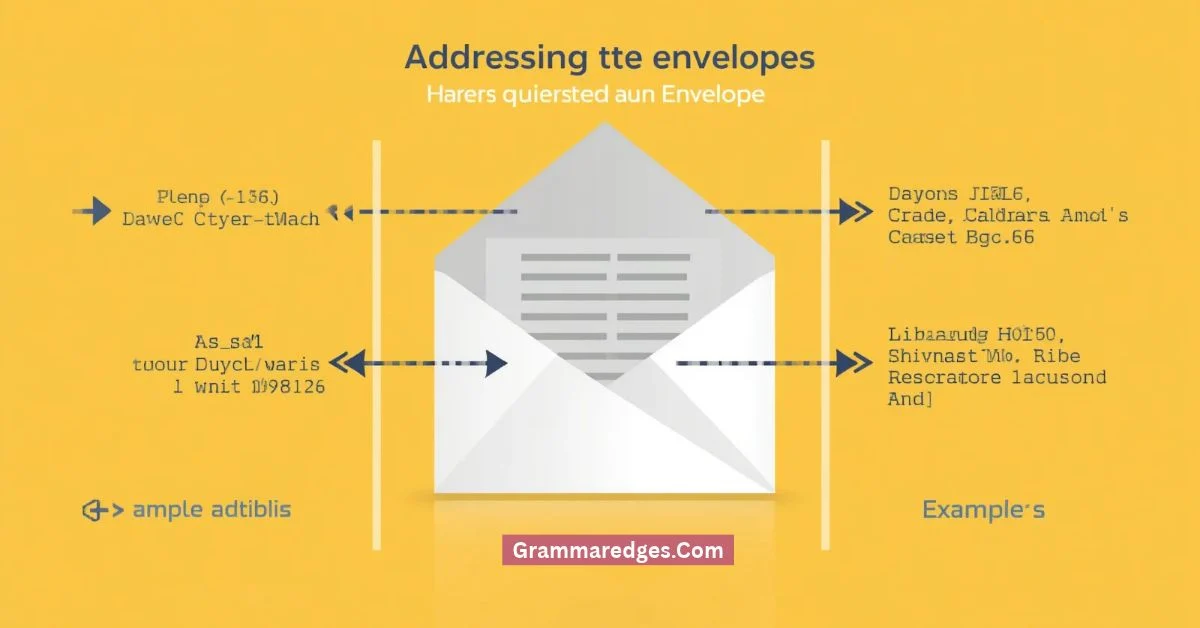
Before you pick up a pen, it helps to understand the four key zones of a standard envelope. Getting familiar with this layout makes every step that follows much easier.
- Recipient’s address — Centered on the front of the envelope, this is the largest and most prominent text block. It’s the single most important piece of information, since it directly determines where your mail ends up.
- Return address — Placed in the top-left corner, this identifies who the letter is from and allows it to be returned if delivery isn’t possible.
- Stamp — Positioned in the top-right corner, the stamp must match the postage required for the envelope’s weight and size.
- Postmark area — The space to the right of the stamp is reserved for the postal service to apply a postmark; leave it blank.
Envelope Sizes and How They Affect Layout
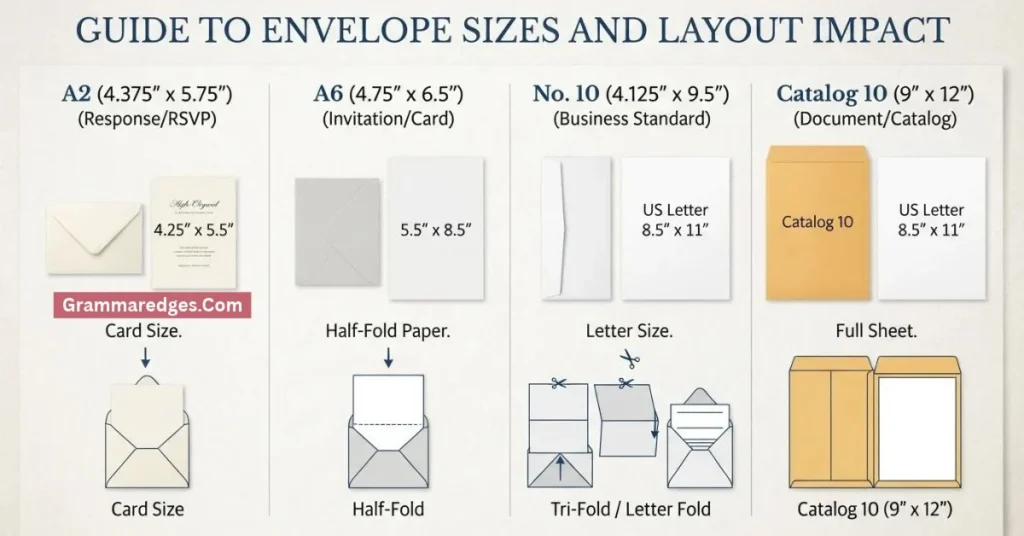
Envelope size influences how much space you have to work with and, in some cases, formal conventions:
- No. 10 (business envelope, ~4.125″ x 9.5″) — the standard for letters and invoices; leaves generous room for both addresses.
- A2 (~4.375″ x 5.75″) — common for small notes and RSVP cards; tighter spacing means shorter address lines matter more.
- A7 (~5.25″ x 7.25″) — the standard for wedding invitations; often paired with an inner envelope for formal addressing.
Regardless of size, the same basic zones and proportions apply — smaller envelopes just require more careful spacing to keep everything legible.
Tools & Materials
Having the right supplies on hand makes it much easier to produce a clean, legible envelope on the first try.
Choosing a Pen
- Gel or fine-tip permanent ink pens work best — they resist smudging and won’t bleed through most envelope paper.
- Avoid pencils or felt-tip markers for formal mail, as they can smear or look unpolished.
- For dark envelopes, use a white or metallic gel pen for contrast and legibility.
Hand-Writing vs. Printing Labels
- Hand-writing adds a personal touch and is generally expected for invitations, thank-you notes, and personal correspondence.
- Printed labels are more practical for business mail, bulk mailings, or when legibility is a concern — many word processors offer built-in envelope and label templates.
- A middle ground: printing directly onto the envelope using a home printer, which combines a clean, typed look with personal effort.
Envelope Quality and Paper Weight
- Heavier paper stock (24 lb. or higher) feels more substantial and is standard for formal or business correspondence.
- Textured or colored envelopes can add a decorative touch but should still allow enough contrast for the ink to remain legible.
- For mailings with inserts (invitations, cards), make sure the envelope size and weight can comfortably fit the contents without needing extra postage.
Step-by-Step: Addressing the Envelope
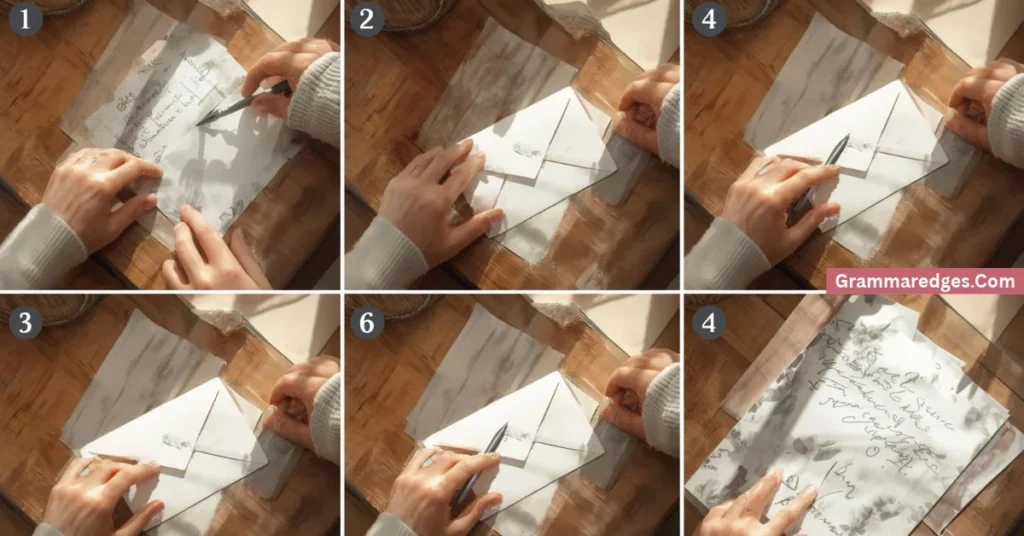
With your tools ready, follow these steps in order for a clean, correctly formatted envelope.
1. Write the Return Address
Start in the top-left corner, about a quarter-inch from the top and left edges. This tells the postal service where to send the letter back if delivery fails.
Your Name
Street Address
City, State ZIP Code
Keep the lines tight and left-aligned. This step is optional for some casual mail but recommended for anything formal or important.
2. Write the Recipient Address
Move to the center of the envelope, roughly in the middle both horizontally and vertically. This is the most critical step, since it directly determines delivery.
Recipient’s Name
Street Address (include apartment/unit number if applicable)
City, State ZIP Code
Keep each line left-aligned within the block, and leave enough space below for the barcode-scanning zone (the bottom ~5/8 inch of the envelope).
3. Place the Stamp
Add your stamp to the top-right corner. Confirm your postage matches the envelope’s weight and size — oversized, heavy, or internationally bound envelopes typically require additional postage.
4. Do a Final Formatting Check
Before sealing, look over the envelope for:
- Legible, complete addresses on both the return and recipient lines
- Correct stamp placement and sufficient postage
- Clear separation between all three elements (return address, recipient address, stamp)
- Nothing written or stamped over the bottom barcode zone
Once everything checks out, seal the envelope and it’s ready to mail.
Formatting Rules & Conventions
Capitalization: USPS Style vs. Traditional
- USPS-preferred: all caps, no punctuation (optimized for automated scanning)
- Traditional/formal: mixed case with punctuation (preferred for personal/formal mail)
Abbreviations
Common ones (St., Apt.) are fine for everyday mail; formal occasions like weddings call for spelling everything out in full.
Titles and Honorifics
Mr., Mrs., Ms., Dr., Rev. — with “Mx.” as a neutral option, or just the full name if unsure.
Addressing Multiple Recipients
- Married couple, same last name: “Mr. and Mrs. John Smith”
- Different last names: “Ms. Jane Doe and Mr. John Smith”
- Family: “The Smith Family”
- Plus a guest: “Ms. Jane Doe and Guest”
Apartment and Unit Numbers
Always place directly with the street address line — never below the city/state/ZIP.
Special Cases
Business/professional letters — company name above the street address; use an “ATTN:” line for departments.
International mail — country name in caps on its own bottom line; check destination-specific formatting conventions.
Wedding invitations — traditionally use outer + inner envelopes, with everything spelled out in full (no abbreviations).
P.O. Boxes — use as the sole address line, don’t pair with a street address.
Business vs. individual within it — person’s name first if addressed to them specifically; company name as primary line if addressed to the business generally.
Military mail (APO/FPO/DPO) — uses Rank/Name, Unit/PSC Box, then APO/FPO/DPO + AE/AP/AA + ZIP — no country name.
Care of (c/o) — used when mail goes to someone at another person’s address.
Common Mistakes to Avoid
- Illegible handwriting — print clearly if needed for automated sorting and carriers to read.
- Incorrect or missing ZIP codes — slows sorting significantly.
- Wrong stamp placement or insufficient postage — top-right corner, matched to weight/size/destination.
- Overlapping the barcode scan zone — keep the bottom ~5/8 inch clear.
- Forgetting the return address — undeliverable mail gets lost instead of returned.
- Inconsistent alignment — keep each block neat and even.
- Mixing formatting styles — don’t combine all-caps USPS style with traditional punctuation mid-address.
Digital-Era Considerations
Printing labels vs. handwriting — labels win on speed/consistency; handwriting wins on personal touch (expected for invitations and thank-yous). A hybrid option: print directly onto the envelope itself.
Online tools and templates — built-in envelope templates handle spacing/alignment automatically, useful for business mail or custom designs.
Mail-merge for bulk mailings — combines a template with a spreadsheet of names/addresses to auto-generate individualized, correctly formatted envelopes for holiday cards, invitations, etc.
Quick-Reference Cheat Sheet
| Element | Location | Notes |
| Return address | Top-left corner | Your name and address; optional for casual mail |
| Recipient address | Center of envelope | Full name, street address, city/state/ZIP |
| Stamp | Top-right corner | Match postage to weight, size, and destination |
| Postmark area | Right of stamp | Leave blank |
| Barcode zone | Bottom ~5/8 inch | Keep clear of writing or stickers |
| Apartment/unit number | With street address | Never on its own line below city/state/ZIP |
| Country (international) | Bottom line, all caps | Required for mail leaving the country |
| APO/FPO/DPO | Replaces city/state | Use AE/AP/AA designator instead |
Formal vs. casual formatting at a glance:
| Style | Capitalization | Abbreviations | Best for |
| USPS style | ALL CAPS | Used freely | Business, bulk mail |
| Traditional style | Mixed case | Spelled out for formal mail | Personal, formal invitations |
Conclusion
Addressing an envelope might seem like a small, old-fashioned task, but getting it right makes a real difference — it ensures your mail arrives quickly, and it shows the recipient a level of care that a text or email simply can’t match.
From placing the return address and stamp correctly to knowing when to spell out every word for a formal invitation, each detail contributes to a polished final result.
If you’re mailing a single heartfelt note or sending out invitations for a big event, take a little extra time to double-check your formatting. With the fundamentals from this guide and a bit of practice you’ll be addressing envelopes with confidence and precision every time.