You have finished writing, the ideas are strong, and then a reader spots a mistake in the very first line. It happens to almost every writer, because writing and checking are two different jobs, and the brain is not good at doing both at the same time. When you read your own fresh text, you see what you meant to write, not what is actually on the page.
Proofreading is the skill that closes that gap. It is a slow, focused final check for grammar, spelling and punctuation errors, done after the content itself is complete. This step-by-step guide gives you a simple proofreading process that catches the errors writers usually miss, plus a checklist you can reuse for every essay, email, assignment or article you write from now on.
Why Proofreading Deserves Its Own Step
Many writers try to fix grammar while they draft. The result is slower writing and missed mistakes, because your attention keeps switching between ideas and details. Professional editors separate the two stages: first they improve the content, then they proofread the finished text line by line. Giving proofreading its own step, ideally after a short break, makes your eyes fresh enough to spot wrong verb forms, missing articles and punctuation slips that were invisible while you were writing. One careful final pass protects the work you have already done.
The Step-by-Step Proofreading Process
Step 1: Take a Break Before You Check
Close the document and walk away for at least 15 to 30 minutes. For an important piece, leave it overnight. Distance breaks your memory of what you intended to say, so you start reading the actual words instead of your intentions. If you are short on time, even changing the font, the screen or the room helps your brain treat the text as something new rather than something it has already approved.
Step 2: Change the Format
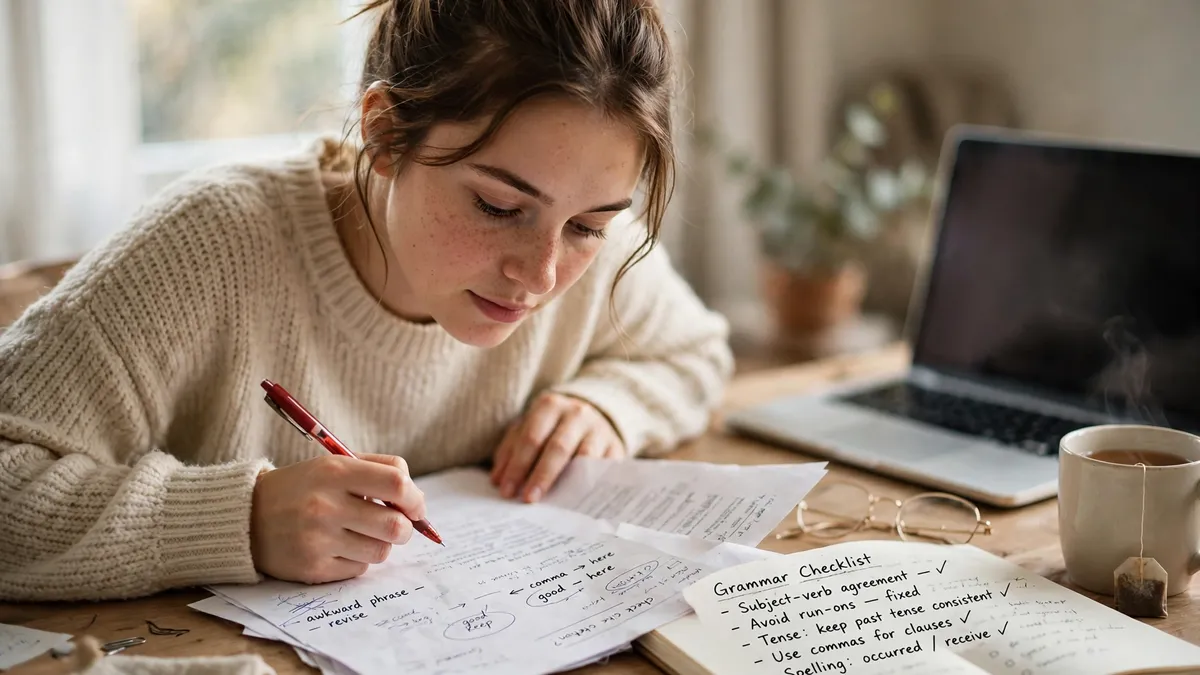
Errors hide in familiar layouts. Print the text, or copy it into a different app with a larger font and wider line spacing. Many writers catch far more mistakes on paper than on the screen they drafted on. A new format slows your reading down and breaks the visual pattern your eyes have memorised, and slow, slightly uncomfortable reading is exactly what good proofreading needs.
Step 3: Read the Text Aloud
Reading aloud forces you to process every single word instead of skimming over familiar phrases. Your ear notices problems your eyes forgive: a missing word, an awkward repeated phrase, or a sentence that runs out of breath because it has no comma where one belongs. If you stumble while reading a sentence, your reader will stumble too, so mark that sentence and fix it before you move on.
Step 4: Check One Error Type at a Time
Do not hunt for everything in one pass. Make separate passes, each with a single target: one pass for verb tenses, one for subject and verb agreement, one for articles, one for punctuation, and one for spelling. This sounds slow, but focused passes are faster in practice, because your brain knows exactly which pattern it is looking for and stops overlooking it. Most missed errors survive general checks and die in specific ones.
Step 5: Read Backwards for Spelling
For the spelling pass, read the text backwards, from the last word to the first. Reading in reverse destroys the flow of meaning, so your brain cannot predict the next word and quietly auto-correct it in your head. Each word stands alone, and typos like ‘form’ instead of ‘from’, or ‘trail’ instead of ‘trial’, suddenly stand out. This trick feels strange for one paragraph and then becomes the most reliable spelling check you own.
Step 6: Verify Names, Numbers and Facts
Grammar is not the only thing that goes wrong at the last minute. Check every name spelling, date, number, title and reference against your source material. A perfectly grammatical sentence with the wrong date or a misspelled name still damages your credibility with teachers, employers and readers. These details are the easiest things to confirm while you proofread, and the most embarrassing to get wrong.
Step 7: Use Tools, but Do Not Trust Them Blindly
Spell checkers and grammar tools are useful first filters, and you should run one before your manual passes begin. But they miss errors that are real words used wrongly, and they sometimes flag sentences that are perfectly correct. Treat every suggestion as a question, not an order: accept a change only when you understand why it is right, and reject it when the tool has misunderstood your meaning.
A Proofreading Checklist You Can Reuse
Keep this checklist beside you while you work and tick off each row on every piece you proofread:
| What to Check | What to Look For | Quick Tip |
| Verb tenses | Past and present forms mixed inside one story | Read only the verbs, in order |
| Subject-verb agreement | He, she or it with a verb missing its -s | Find the subject of each verb first |
| Articles (a, an, the) | Missing articles before singular nouns | Ask: can the reader tell which one? |
| Sentence endings | Run-on sentences and missing full stops | One main idea per sentence |
| Apostrophes | Apostrophes in simple plurals like apple’s | An apostrophe means possession or missing letters |
| Confusing word pairs | Their/there, its/it’s, affect/effect | Expand the short form and test it |
| Spelling | Real words used in the wrong place | Read backwards, word by word |
What to Do When You Are Not Sure About a Rule
Sometimes proofreading stops at a sentence that looks wrong, but you cannot say exactly why. Do not guess and move on. This is the moment to understand English words and grammar with simple explanations, check the rule once, and note the corrected pattern in your notebook. Each doubt you resolve in this way removes a whole family of future mistakes, because the same grammar patterns repeat in everything you write, from short emails to long essays.
Proofreading Mistakes to Avoid
Even careful writers weaken their final check with these habits:
- Proofreading immediately after writing, while the intended wording is still fresh in your memory.
- Checking everything in a single fast pass instead of one error type at a time.
- Accepting every grammar-tool suggestion without understanding the rule behind it.
- Skipping the read-aloud pass because it feels slow or strange.
- Proofreading when tired; a short break beats an hour of unfocused staring at the screen.
Frequently Asked Questions
What is the difference between proofreading and editing?
Editing improves the content itself: the order of ideas, clarity, tone and sentence structure. Proofreading is the final surface check that happens after editing is finished, and it only hunts for grammar, spelling and punctuation errors. If you proofread before you edit, you will spend time polishing sentences that later get deleted or rewritten.
How long should proofreading take?
As a rough guide, allow about five minutes per page for a careful manual check, plus a short break before you start. A 1,000-word article usually needs 15 to 25 minutes of focused proofreading spread over a few passes. If you are finishing the whole check in two minutes, you are skimming, not proofreading.
Can a grammar checker replace proofreading?
No. Tools catch many typos and obvious agreement errors, but they struggle with context, tone and correctly spelled words used wrongly, such as ‘their’ instead of ‘there’. Use tools as a first pass, then do at least one slow human pass, ideally reading aloud, before you call the text finished.
Should I proofread on screen or on paper?
Both work, and combining them works best of all. Paper slows you down and changes the layout, which reveals errors the screen hides. If printing is not possible, change the font, increase the size and widen the line spacing on screen to get a similar fresh-eyes effect.
Conclusion
Good proofreading is not a talent; it is a routine. Take a break, change the format, read aloud, and check one error type at a time with a checklist beside you. The process feels slow for the first few pieces you check, and then it becomes automatic. Your ideas deserve to be judged on their quality, not on a typo in the first line, and a careful final pass is what makes that happen.