
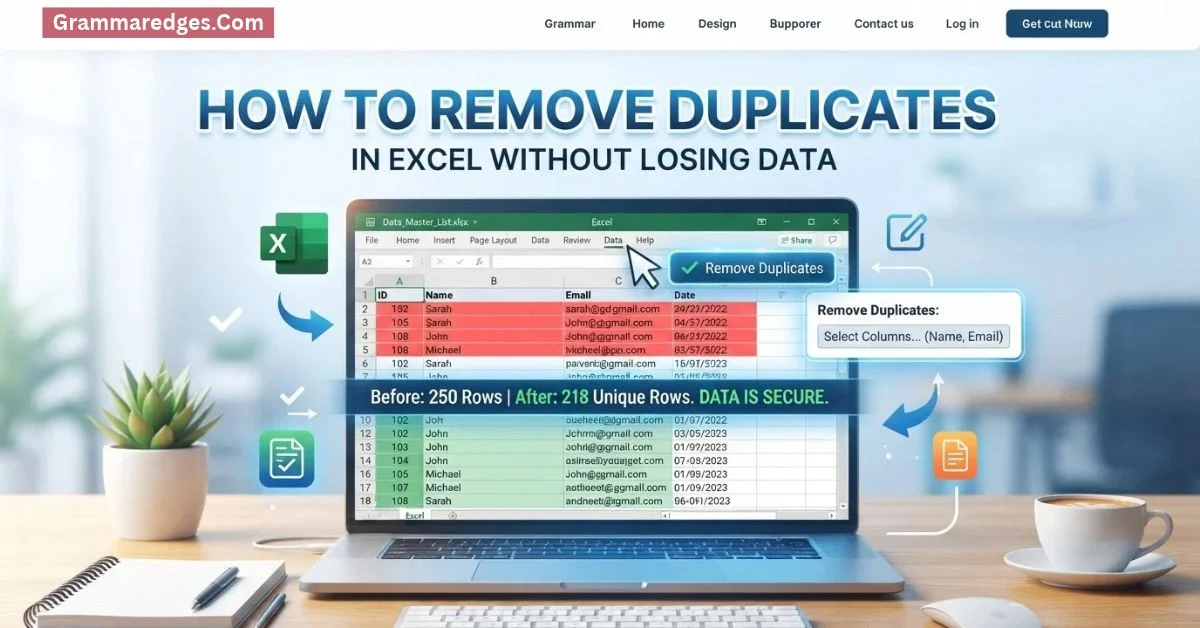
If you’ve ever pulled a customer list, merged two spreadsheets, or imported data from another system, you’ve probably run into the same headache: duplicate entries. A single repeated row might seem harmless, but duplicates can quietly distort your totals, throw off averages, and make reports look far less trustworthy than they actually are. Worse, they often hide in plain sight — a name typed twice, an extra space no one notices, or a row copied by accident during a big edit.
The good news is that Excel gives you more than one way to catch and clean up duplicate data, whether you want a quick one-click fix or a more careful, review-first approach. In this guide, we’ll walk through everything from the built-in Remove Duplicates tool to formulas and Power Query, so you can pick the method that fits your data, your workflow, and how much control you want over what gets deleted.
Understanding Duplicates in Excel
Before removing anything, it helps to understand what actually counts as a “duplicate” in Excel — because it’s not always as obvious as it looks.
The most common case is an exact duplicate: a value or entire row that matches another one character-for-character. But Excel also deals with “fuzzy” duplicates — entries that look identical to the human eye but aren’t technically the same. A trailing space after “Smith,” inconsistent capitalization like “john@email.com” vs. “John@Email.com,” or a date stored as text instead of a real date can all cause Excel to treat matching-looking values as completely different.
It’s also worth distinguishing between full-row duplicates, where every column matches, and duplicates within specific columns, where only certain fields (like an email or ID number) repeat while the rest of the row differs. Which type you’re dealing with changes which method — and which columns — you should target when cleaning up.
Understanding these distinctions upfront helps you avoid two common mistakes: deleting rows that aren’t really duplicates, or missing ones that are.
Preparing Your Data Before Removing Duplicates
A little prep work goes a long way before you start deleting anything — especially since some methods (like the built-in Remove Duplicates tool) permanently remove rows with no undo-friendly preview.
Back up your original data first. Copy your dataset to a new sheet or save a duplicate file before making changes. If something goes wrong, you’ll want the original intact.
Convert your range into a Table (select your data and press Ctrl+T). Tables make it easier to manage data, auto-expand formulas, and keep formatting consistent as you work.
Clean up inconsistencies before checking for duplicates. Use TRIM() to remove extra spaces, CLEAN() to strip non-printable characters, and UPPER() or LOWER() to standardize text case. These small fixes prevent Excel from missing duplicates that look identical but aren’t stored identically.
Sort your data by the column(s) you suspect have duplicates. This lets you visually scan for repeated values before running any automated tool, giving you a confidence check against what Excel finds later.
Taking these steps first means fewer surprises — and less risk of losing data you actually needed.
Method 1: Built-in Remove Duplicates Tool
This is the fastest way to remove duplicates in Excel, and it’s built right into the ribbon — no formulas required.
Step-by-step:
- Click any cell inside your data (or select a specific range).
- Go to the Data tab.
- Click Remove Duplicates, found in the Data Tools group.
- In the dialog box that appears, choose which columns to check. If you want Excel to treat a row as a duplicate only when every selected column matches, check all of them. If you only care about duplicates in, say, an email column, check just that one.
- Make sure “My data has headers” is checked if your first row contains column labels — otherwise Excel will treat your headers as data.
- Click OK.
Excel will then display a message telling you how many duplicate values were found and removed, and how many unique values remain.
Limitations to keep in mind:
- It’s permanent. Once you click OK, the duplicate rows are deleted — there’s no preview step showing exactly which rows will go.
- It keeps only the first occurrence. If you need to keep the most recent entry instead of the first, this tool won’t do that for you (you’ll need to sort first, or use a formula-based approach).
- No partial-match logic. It checks for exact matches only, based on the columns you select — it won’t catch “fuzzy” duplicates like inconsistent capitalization unless you’ve cleaned the data beforehand.
This method is best when you’re confident about your data and just want a fast, one-time cleanup.
Method 2: Highlight Duplicates with Conditional Formatting
If you’re not ready to delete anything yet — or you just want to see the scope of the problem first — conditional formatting is the safer starting point. It flags duplicates visually without touching your data.
Step-by-step:
- Select the data range you want to check.
- Go to Home > Conditional Formatting > Highlight Cells Rules > Duplicate Values.
- In the dialog box, choose a formatting style — Excel offers preset options like light red fill with dark red text, or you can customize the color yourself.
- Click OK. Every duplicate value in your selected range will now be highlighted.
Customizing the rule:
You can adjust the formatting at any time by going back to Conditional Formatting > Manage Rules, where you can change colors, edit the range, or delete the rule entirely once you’re done reviewing.
Using it as a review step:
Once duplicates are highlighted, you can sort or filter by cell color to group all flagged rows together. This makes it easy to scroll through and manually decide what to keep, edit, or delete — giving you far more control than an automatic tool.
This method works well when duplicates might be legitimate (e.g., two customers who happen to share a name) and you don’t want Excel making that judgment call for you.
Method 3: Formula-Based Duplicate Detection
Formulas give you the most flexibility and transparency — nothing gets deleted automatically, and you can see exactly why Excel considers something a duplicate.
COUNTIF for single-column duplicates:
=COUNTIF(A:A, A2)>1
This checks how many times the value in A2 appears anywhere in column A. If it appears more than once, the formula returns TRUE. Drag it down the column, then filter by TRUE to isolate every duplicate.
COUNTIFS for multi-column or row-level duplicates:
=COUNTIFS(A:A, A2, B:B, B2)>1
This only flags a row as a duplicate if both the value in column A and the value in column B match another row — useful when a single column alone isn’t enough to confirm a true duplicate (e.g., two people named “John Smith” with different email addresses shouldn’t be treated as the same record).
Labeling duplicates instead of just flagging them:
=IF(COUNTIF(A:A, A2)>1, “Duplicate”, “Unique”)
This adds a readable label directly in a helper column, making it easy to filter, sort, or hand off to someone else for review without them needing to understand the underlying formula.
Why use formulas over the built-in tool:
- Non-destructive — your original data stays untouched until you decide to act.
- Auditable — anyone reviewing the sheet can see exactly how duplicates were identified.
- Flexible — you control exactly which combination of columns counts as a “true” duplicate.
The tradeoff is that this method takes a bit more setup than a one-click tool, and you’ll need to manually filter and delete rows once you’ve identified them.
Method 4: Power Query for Advanced Duplicate Removal
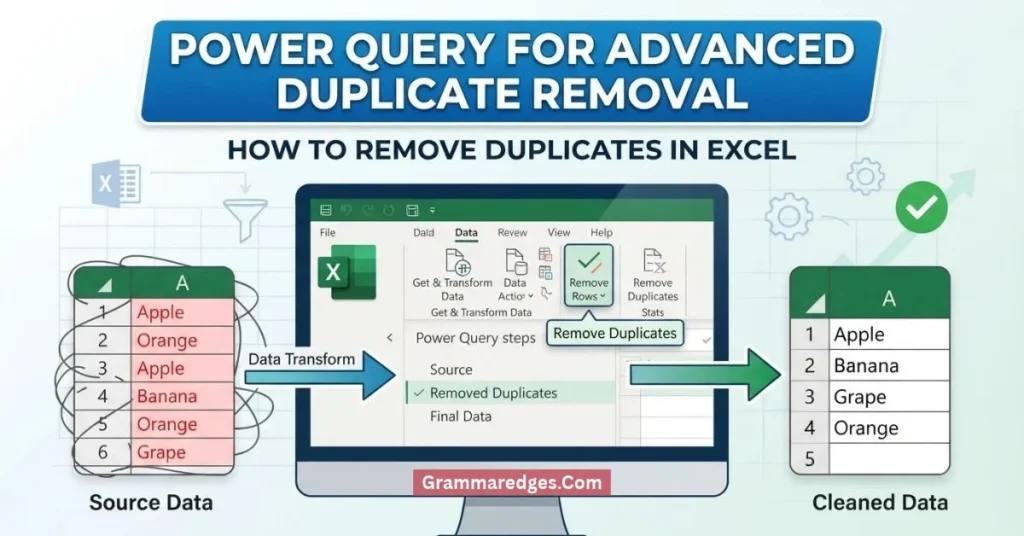
For large datasets, recurring imports, or duplicate-checking that needs to happen regularly (not just once), Power Query is the most powerful tool Excel offers. Unlike the built-in Remove Duplicates tool, it doesn’t touch your original data directly — you work in a separate query editor and load the cleaned result back in when you’re ready.
Why Power Query is better for bigger or repeat jobs:
- Your source data stays completely untouched until you load the query.
- Queries can be refreshed anytime the source data changes, so you’re not repeating manual steps every time.
- It handles large datasets more efficiently than formulas dragged down thousands of rows.
Step-by-step:
- Select your data range and go to Data > From Table/Range. If your data isn’t already a Table, Excel will prompt you to convert it first.
- This opens the Power Query Editor with your data loaded in.
- Select the column(s) you want to check for duplicates by clicking the column header(s) (hold Ctrl to select multiple).
- Right-click the selected header(s) and choose Remove Duplicates.
- Click Close & Load (found on the Home tab) to bring the cleaned dataset back into your Excel workbook as a new table.
Handling duplicates across multiple sheets or files:
Power Query can also combine data from multiple sheets or workbooks before removing duplicates — go to Data > Get Data > From File or Combine Queries, then merge or append the sources before running the Remove Duplicates step. This is especially useful when duplicate records are scattered across different exports or team spreadsheets.
Keeping it reusable:
Once set up, you can right-click your query in the Queries & Connections pane and select Refresh any time your source data updates — no need to redo the whole process manually.
This method is best suited to ongoing datasets, larger files, or situations where duplicates need to be checked repeatedly rather than as a one-time cleanup.
Method 5: Advanced Formulas (UNIQUE, FILTER)
If you’re using Excel 365 or Excel 2021+, dynamic array functions offer a modern alternative to both the built-in tool and traditional COUNTIF formulas — letting you generate a duplicate-free list without touching your original data at all.
UNIQUE() for a clean, duplicate-free list:
=UNIQUE(A2:A100)
This spills a list of every distinct value from the range into adjacent cells, automatically updating if your source data changes. It’s a fast way to get a clean list side-by-side with your original data, so you can compare before deciding what to remove.
To pull unique full rows instead of a single column:
=UNIQUE(A2:C100)
FILTER() combined with COUNTIF for custom logic:
=FILTER(A2:A100, COUNTIF(A2:A100, A2:A100)=1)
This returns only values that appear exactly once — effectively showing you entries that aren’t duplicated at all, which is useful when you want to isolate truly unique records rather than just deduplicate a list.
You can also flip the logic to pull only the duplicates themselves:
=FILTER(A2:A100, COUNTIF(A2:A100, A2:A100)>1)
Why use dynamic arrays over static removal:
- Always current — the list updates automatically as source data changes, unlike Remove Duplicates or Power Query, which require re-running the process.
- Non-destructive — your original range is never altered.
- Composable — UNIQUE and FILTER can be combined with SORT, COUNTIF, or IF for more advanced deduplication logic without extra helper columns.
The main limitation is version availability — these functions only work in Excel 365 and Excel 2021 or later, so they’re not an option if you’re on an older version.
Handling Special Cases
Not every duplicate situation is straightforward. Here’s how to handle some of the trickier scenarios you’re likely to run into.
Duplicates with inconsistent formatting:
Excel treats values as different if they’re formatted differently, even when they look the same. A date stored as text (“01/15/2024”) won’t match a true date value, and “100” stored as text won’t match the number 100. Before checking for duplicates, convert text-formatted numbers and dates to their proper data types, and use UPPER() or LOWER() to standardize case-sensitive text like emails or names.
Partial duplicates:
Sometimes only some columns match while others differ — for example, the same customer with two different phone numbers on file. Decide upfront whether you’re looking for full-row duplicates or matches based on a specific “key” column (like a customer ID or email). Use COUNTIFS or Power Query’s column selection to target only the fields that actually define a duplicate in your context.
Duplicates across multiple sheets or workbooks:
If your data lives in separate sheets or files, you’ll need to bring it together before checking for duplicates. Power Query’s Append Queries feature is the most reliable way to combine sources first, then run duplicate detection on the merged dataset. Formulas can also reference other sheets directly (e.g., =COUNTIF(Sheet2!A:A, A2)), but this gets unwieldy with more than two or three sheets.
Keeping a specific row instead of the first one:
The built-in Remove Duplicates tool always keeps the first occurrence and deletes the rest — which isn’t always what you want. If you need to keep the most recent entry (say, based on a date column), sort your data by that date first (newest to oldest) before running Remove Duplicates. Since it keeps the first match it finds, sorting ensures the “right” row survives.
Preventing Duplicates in the Future
Removing duplicates is useful, but preventing them from entering your spreadsheet in the first place saves far more time in the long run.
Use Data Validation to restrict entries:
Go to Data > Data Validation and set custom rules to block duplicate entries in a key column as they’re typed. For example, using a custom formula like =COUNTIF(A:A, A2)=1 on a validation rule prevents a duplicate ID or email from being entered twice in the first place, flagging it immediately instead of after the fact.
Use a unique identifier column:
Whenever possible, assign every record a unique ID (a customer number, order ID, etc.) rather than relying on names or emails to distinguish entries. Unique identifiers make duplicate-checking far more reliable, since two people can share a name but never a valid ID.
Standardize data entry formats:
Inconsistent formatting is one of the biggest causes of “hidden” duplicates. Where possible, use dropdown lists (via Data Validation) instead of free-text fields, enforce consistent date formats, and train anyone entering data to avoid extra spaces or inconsistent capitalization.
Set up Power Query refresh workflows:
If you’re regularly importing data from other systems or files, build a Power Query pipeline once — including a Remove Duplicates step — and simply refresh it each time new data comes in. This turns a manual cleanup task into a repeatable, low-effort process.
A little structure upfront — validation rules, unique IDs, and consistent formatting — means far less time spent hunting down duplicates later.
Here’s the next section:
Common Mistakes to Avoid
Even with the right tools, it’s easy to make small missteps that lead to lost data or missed duplicates. Watch out for these:
Deleting without backing up first. The built-in Remove Duplicates tool doesn’t offer a preview or an easy way to see exactly which rows were removed. Always work from a copy — or at least save your file — before running it.
Checking the wrong columns. If you select every column when only one or two actually define a “true” duplicate (like an email or ID), you may end up keeping records that should have been merged, or removing ones that shouldn’t have been. Take a moment to decide what actually makes two rows duplicates before running any tool.
Ignoring hidden characters and spaces. A cell that looks like “Excel” and one that reads “Excel ” (with a trailing space) will not be caught as duplicates by default. Run TRIM() and CLEAN() before checking, especially on data that was copied from another system or pasted from the web.
Assuming Remove Duplicates checks the whole row by default. Many users assume selecting their full data range means Excel compares entire rows. In reality, it only compares the columns you explicitly check in the dialog box — if you leave a column unchecked, its values are ignored entirely when determining what counts as a duplicate.
Forgetting that Remove Duplicates keeps the first match, not the “best” one. If your data isn’t sorted the way you want beforehand, you might lose the row you actually needed to keep (e.g., the most recent order instead of the oldest).
Being aware of these pitfalls upfront can save you from having to reconstruct lost data after the fact.
Conclusion
Removing duplicates in Excel isn’t a one-size-fits-all task — the right method depends on how much control you need, how large your dataset is, and whether you’re doing a one-time cleanup or an ongoing process.
Quick-reference guide:
- Need speed and don’t mind permanent changes? Use the built-in Remove Duplicates tool.
- Want to review before deleting anything? Start with Conditional Formatting to highlight duplicates first.
- Need transparency or custom matching logic? Use COUNTIF/COUNTIFS formulas.
- Working with large or recurring datasets? Build a Power Query workflow you can refresh anytime.
- On Excel 365 and want a live, non-destructive list? Use UNIQUE() and FILTER().
For beginners or quick one-off cleanups, the built-in tool is hard to beat. For larger teams, recurring imports, or anyone who wants more control over what gets removed, formulas and Power Query offer far more flexibility — and far less risk of losing data you actually needed.
Whichever method you choose, the same rule applies: back up your data, understand what actually counts as a duplicate in your specific case, and double-check before anything gets permanently deleted.